Crafting the perfect sleeve pattern is a vital skill in sewing and garment construction. The finished sleeve is not just a functional part of a garment but also a crucial element of its overall aesthetic and style. Mastering sleeve patterns involves understanding various types of sleeves, the fundamentals of drafting, and the intricacies of fitting. In this guide, we will take you through the process of creating sleeve patterns, ensuring a perfect fit, and exploring stylish designs.
What is sleeve?
A sleeve is a part of a garment that covers the arm. It can vary in length and style, such as short sleeves, long sleeves, or sleeveless designs. Sleeves can be attached to the garment at the shoulder or at a point below the shoulder, depending on the style of the clothing item. They serve both functional and aesthetic purposes, providing coverage and protection for the arms while also contributing to the overall look and design of the garment.
Basic sleeve pattern
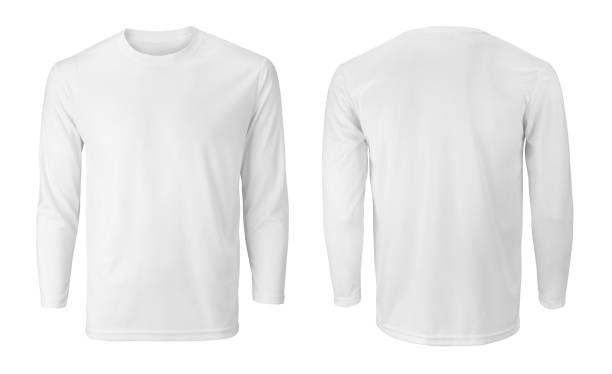
Creating a basic sleeve pattern involves several steps:
- Measurements: Take measurements of the arm for which you are making the sleeve pattern, including the circumference of the bicep, elbow, and wrist line, underarm seam as well as the length from the shoulder to the desired sleeve length (e.g., wrist, mid-forearm, elbow).
- Drafting the Sleeve Block: Start by drawing a rectangle with a width equal to half the bicep circumference plus ease for movement (typically 1-2 inches) and a height equal to the desired sleeve length plus seam allowances (typically 1 inch at the top and bottom).
- Marking Key Points: From the top corner of the rectangle, measure down the length of the sleeve and mark points for the elbow and wrist based on your measurements seam allowance.
- Creating the Sleeve Cap: Divide the bicep circumference measurement by 6.28 (2 x pi) to get the diameter of the sleeve cap bodice pattern. From the top corner of the rectangle, draw a curved line connecting the bicep width measurement (half of the bicep circumference plus ease) to the wrist width measurement bicep line.
- Adding Seam Allowances: Add seam allowances along the edges of the sleeve pattern (typically 1/2 inch to 1 inch).
- Finalizing the Pattern: Cut out the sleeve pattern along the outer edge, including seam allowances. Label the pattern pieces for reference.
This basic sleeve pattern can be modified and adjusted for different sleeve styles, such as puff sleeves, bell sleeves, or fitted sleeves, by altering the width and length measurements, as well as the shape cap height of the sleeve cap curve.
The shape of the sleeve cap
The shape of the sleeve cap refers to the curve at the top of the sleeve pattern that determines how same length of the sleeve fits around the shoulder and armhole of a garment. Here’s how you can describe the shape of the sleeve cap in words:
Straight Sleeve Cap

This type of sleeve cap has a relatively straight line from the top of the front sleeve cap to the armhole shoulder line. It is often seen in garments with a loose or relaxed fit, such as casual shirts or blouses sleeve head.
Curved Sleeve Cap
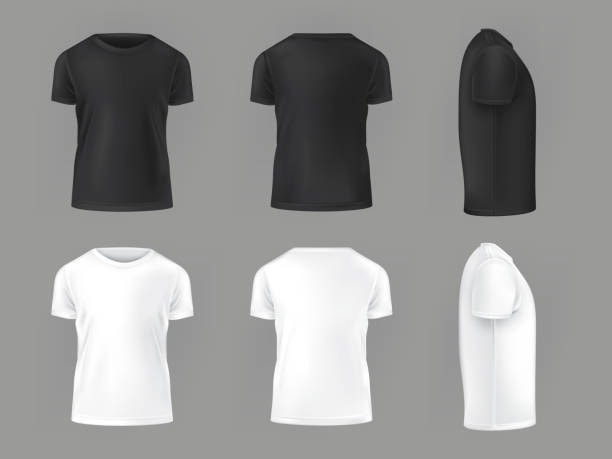
A curved sleeve cap has a gentle curve that slopes down from the top of the sleeve cap height down to the armhole wrist circumference. This shape allows for a more natural and comfortable fit around the shoulder and is commonly used in tailored garments like jackets and dress shirts front and back armholes.
High Sleeve Cap
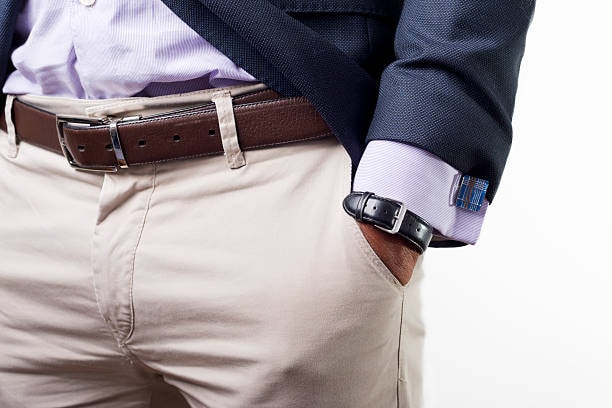
A high sleeve cap has a more pronounced curve with a higher peak at the top. This shape is often used in garments that require more mobility and ease of movement, such as activewear or garments with raglan sleeves.
Low Sleeve Cap
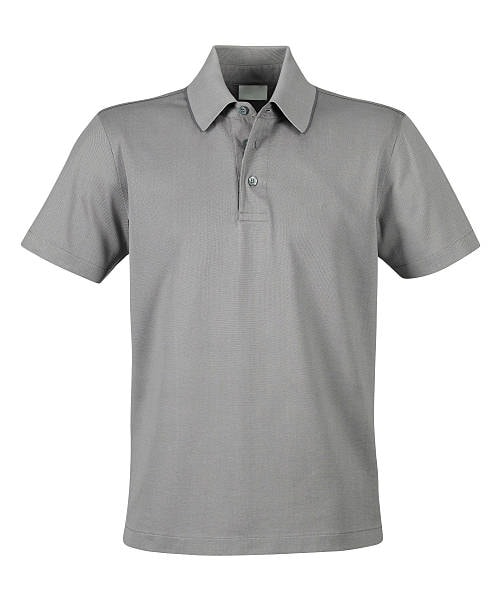
A low sleeve cap has a shallower curve that sits lower on the shoulder. This shape is suitable for garments with a dropped shoulder style or a relaxed fit.
Eased Sleeve Cap
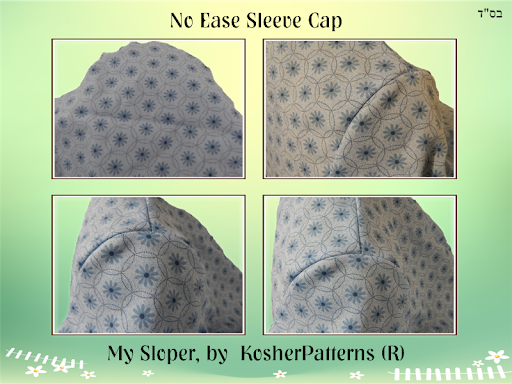
An eased sleeve cap refers to a sleeve pattern where the curve of the sleeve cap is slightly smaller than the armhole of the garment. This allows for easing or gathering of the sleeve fabric when attaching it to the armhole, creating a subtle puffed effect.
Cap Sleeve
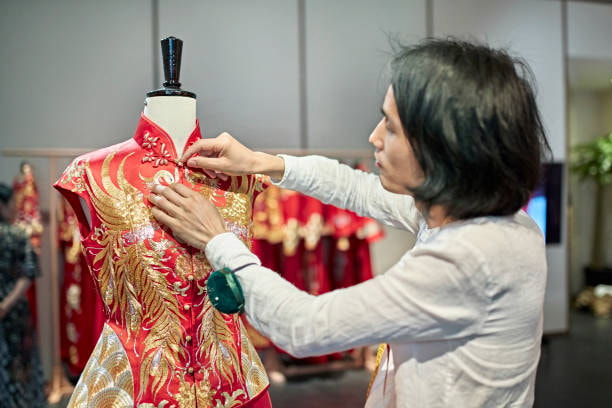
A cap sleeve has a very short, almost flat sleeve cap that extends only a short distance from the shoulder. It is often used in tops and dresses for a minimalist or delicate look.
How to identify the FRONT and BACK if it is not labeled?

If you’re looking at a garment or fabric piece that is not labeled to indicate which side is the front and which side seam side is the back, you can use several methods to identify them:
- Seams and Stitching: Look for seams and stitching details that are typically more prominent on the inside or back of the garment. This includes things like serged edges, topstitching, or finishing details that are often done on the back side.
- Darts and Pleats: If there are darts or pleats on the garment, they are usually positioned on the front to provide shaping. Identifying these features can help determine which side is the front.
- Zipper or Buttons: The placement of closures like zippers, buttons, or hooks and eyes can indicate the front or back. For example, a zipper at the back usually signifies that it’s the back side.
- Neckline and Collar: In some cases, the neckline or collar may differ slightly between the front and back. A lower neckline or a more intricate collar design is often at the front.
- Print or Design: If there’s a print or design on the fabric, it may be intentionally placed on the front side for visibility. Look for elements like logos, patterns, or graphics that are more prominent on one side.
- Tag or Label Residue: Even if the tag or label has been removed, there might be residue or stitching marks where it was attached. This residue can sometimes indicate which side was intended to be the back.
- Fit and Shape: Consider the overall fit and shape of the garment. Certain features like darts for bust shaping or back seams for waist shaping can help determine which side is meant to face forward.
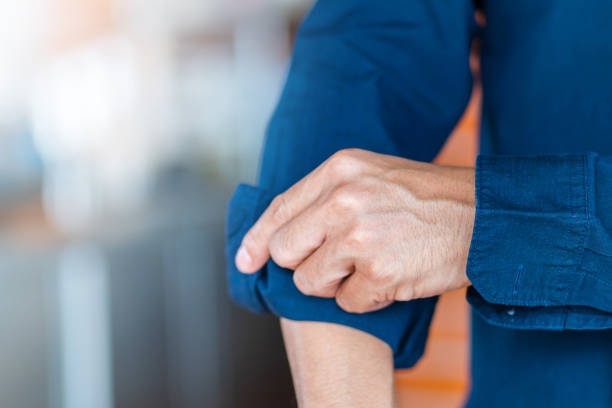
By observing these details and considering how the garment is constructed and designed, you can usually identify which side is the front and which is the back, even without explicit labels.
Tools you need to draft the pattern block
To draft a pattern block for a garment, you’ll need several tools to ensure accuracy and precision:
- Pattern Paper: Specialized paper designed for pattern drafting, often with gridlines or dots to aid in drawing straight lines and curves.
- Ruler: A straight ruler for drawing straight lines and measuring lengths accurately.
- French Curve: A curved ruler used for drawing smooth curves, particularly useful for armholes, necklines, and sleeve caps.
- L-square or Set Square: Helps in creating perpendicular lines and right angles.
- Pencil: For sketching the initial draft of the pattern block before finalizing with a pen.
- Eraser: To correct mistakes or adjust lines as needed during the drafting process.
- Tape Measure: For taking body measurements accurately, especially for customizing the pattern block to fit specific dimensions.
- Tracing Wheel: Used with carbon or tracing paper to transfer pattern markings onto fabric.
- Pattern Notcher: Creates small notches along the pattern edges to indicate seam allowances, fold lines, and matching points during assembly.
- Pattern weights or pins: Keep the pattern paper in place while tracing or cutting.
- Curve Ruler (Optional): A flexible ruler that can be shaped to fit various curves, helpful for creating more complex patterns.
- Calculator (Optional): Useful for calculating measurements and making adjustments to the pattern based on grading or scaling factors.
These tools, combined with knowledge of garment construction and pattern drafting techniques, allow you to create accurate and well-fitted pattern blocks for sewing or fashion design projects.
Taking body measurements
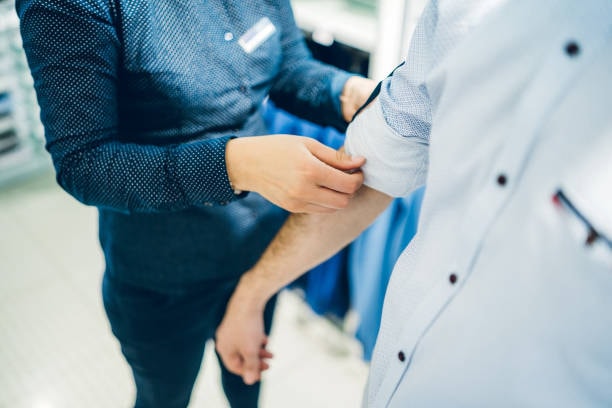
Taking body measurements accurately is crucial for creating well-fitted garments. Here’s how you can take various body measurements:
- Chest/Bust: Measure around the fullest part of the chest or bust, keeping the measuring tape parallel to the floor. Ensure that the tape is snug but not too tight.
- Waist: Measure around the natural waistline, which is usually the narrowest part of the torso. It’s typically located above the belly button and below the rib cage.
- Hips: Measure around the fullest part of the hips and buttocks, with the feet close together and the measuring tape parallel to the floor.
- Shoulder Width: Measure from the base of the neck, where the shoulder meets the neck, across the top of the shoulders to the outer edge of the opposite shoulder.
- Back Length: Measure from the base of the neck to the natural waistline, following the curve of the spine.
- Arm Length: Measure from the shoulder point (where the shoulder meets the arm) to the wrist, with the arm slightly bent.
- Sleeve Length: For long sleeves, measure from the shoulder point to the desired sleeve length. For short sleeves, measure from the shoulder point to the mid-upper arm.
- Neck Circumference: Measure around the base of the neck, where the collar of a shirt would typically rest.
- Inseam: For pants, measure from the crotch seam (where the legs of the pants meet) to the bottom of the pant leg.
- Thigh Circumference: Measure around the widest part of the thigh, typically a few inches below the crotch.
- Calf Circumference: Measure around the widest part of the calf muscle.
- Height: The subject should then stand with their back against a wall, with their heels touching the wall and without shoes on and then measure from the ground to the top of the head.

When taking measurements, it’s important to use a flexible measuring tape, stand in a relaxed posture without sucking in or puffing out the stomach, and have someone assist if needed for more accurate results. Record measurements in inches or centimeters, depending on your preference and the measurement standards you’re following.
Taking Accurate Measurements
Taking accurate measurements is crucial for creating well-fitting garments. Here’s a detailed guide on how to take measurements correctly:
- Chest/Bust:
- Wrap the measuring tape around the fullest part of the chest or bust.
- Ensure the tape is parallel to the floor and snug but not tight.
- Take the measurement with the person standing in a relaxed posture, arms at their sides.
- Waist:
- Locate the natural waistline, which is usually the narrowest part of the torso above the belly button and below the rib cage.
- Wrap the measuring tape around the waist, keeping it parallel to the floor.
- Take the measurement without pulling the tape too tightly or allowing it to sag.
- Hips:
- Measure around the fullest part of the hips and buttocks.
- Keep the feet together and the measuring tape parallel to the floor.
- Ensure the tape is snug but not constricting.
- Shoulder Width:
- Find the base of the neck where it meets the shoulder.
- Measure from this point across the top of the shoulders to the outer edge of the opposite shoulder.
- Keep the measuring tape flat and level across the back.
- Back Length:
- Start at the base of the neck.
- Measure down the spine to the natural waistline.
- Follow the natural curve of the spine for an accurate measurement.
- Arm Length:
- Begin at the shoulder point where the arm meets the shoulder.
- Measure down to the wrist, with the arm slightly bent.
- Keep the tape close to the arm without pulling it tightly.
- Sleeve Length:
- For long sleeves, measure from the shoulder point to the desired sleeve length.
- For short sleeves, measure from the shoulder point to the mid-upper arm.
- Keep the arm relaxed and slightly bent during measurement.
- Neck Circumference:
- Measure around the base of the neck where the collar of a shirt would rest.
- Keep the tape comfortably snug without constricting the neck.
- Inseam:
- For pants, measure from the crotch seam to the bottom of the pant leg.
- Ensure the person stands straight with legs slightly apart for an accurate measurement.
- Thigh and Calf Circumference:
- Measure around the widest part of the thigh and calf, respectively.
- Keep the tape parallel to the floor and snug but not tight.
- Height:
- Stand upright against a wall without shoes.
- Ensure the heels, buttocks, shoulders, and back of the head touch the wall.
- Measure from the floor to the top of the head.
Drafting the Sleeve Pattern
Sure, here’s a concise guide to drafting a sleeve pattern:
- Measurements: Take measurements for bicep, elbow, wrist, and desired sleeve length.
- Drafting: Draw a rectangle with width = half bicep + ease and height = sleeve length + seam allowances.
- Key Points: Mark points for elbow and wrist along the sleeve length.
- Sleeve Cap: Calculate sleeve cap diameter (bicep ÷ 6.28) and draw a curved line connecting bicep width to wrist width.
- Seam Allowances: Add seam allowances (typically 1/2 inch to 1 inch) along edges.
- Finalize: Cut out the pattern with allowances and label it.
Finalizing the Sleeve Pattern
To finalize the sleeve pattern:
- Test Fit: Cut and sew a sample sleeve to check fit and comfort.
- Adjustments: Make necessary adjustments based on the test fit, such as altering sleeve cap shape or length.
- Refinement: Fine-tune the pattern for optimal fit and ease of movement.
- Final Sample: Create a final sample sleeve to ensure all adjustments are accurate.
- Review: Check the final sample for any remaining issues and make minor adjustments if needed.
- Markings: Add markings for seam allowances, notches, and grain lines.
- Labeling: Label the pattern pieces clearly, indicating front, back, and any other relevant information.
- Documentation: Document the finalized pattern for future reference, including measurements and adjustments made.
Conclusion
In conclusion, drafting and finalizing a sleeve pattern requires attention to detail, testing, and refinement. By following a systematic approach of drafting a sleeve hem based on measurements, testing the initial pattern, making necessary adjustments, and refining until achieving the desired fit, one can create a well-fitting and functional sleeve pattern for various garment styles.
Crafting the perfect sleeve pattern is a vital skill in sewing and garment construction. The finished sleeve is not just a functional part of a garment but also a crucial element of its overall aesthetic and style. Mastering sleeve patterns involves understanding various types of sleeves, the fundamentals of drafting, and the intricacies of fitting. In this guide, we will take you through the process of creating sleeve patterns, ensuring a perfect fit, and exploring stylish designs.


